Chapters
- 1What is EmbroideryTrace?
- 2Create an account
- 3Sign in
- 4Upload your image
- 5Separate colours
- 6Use Trace
- 7Meet the Stitch Editor
- 8Choose a stitch type
- 9Set satin
- 10Edit shapes
- 11Save and reopen your design
- 12Pick your hoop
- 13Preview your design
- 14Export and stitch on your machine
- 15Free Plan and Pro
- 16Credits
- 17If something looks wrong
- 18FAQ
- 19Get help
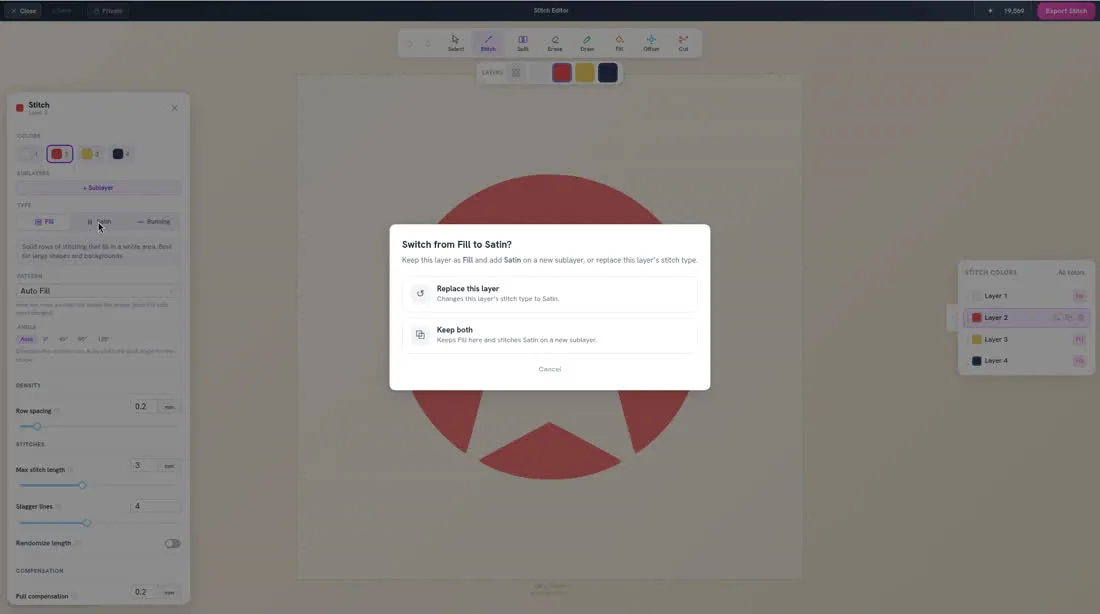
Satin stitches travel back and forth between two edges. If you switch a Fill layer to Satin, you will see Switch from Fill to Satin? Choose Replace this layer, Keep both, or Cancel.
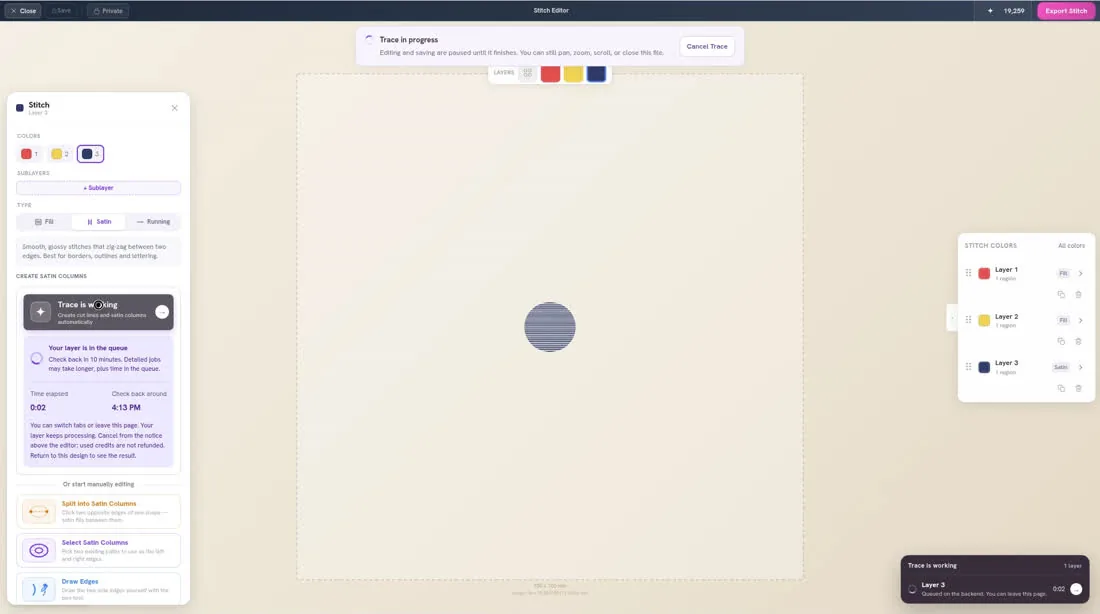
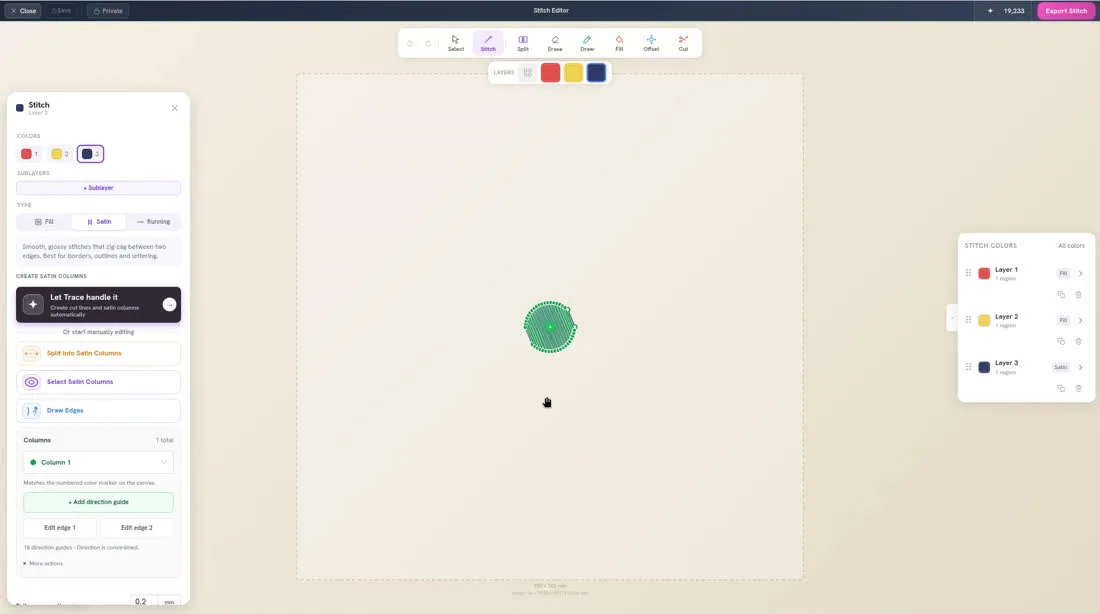
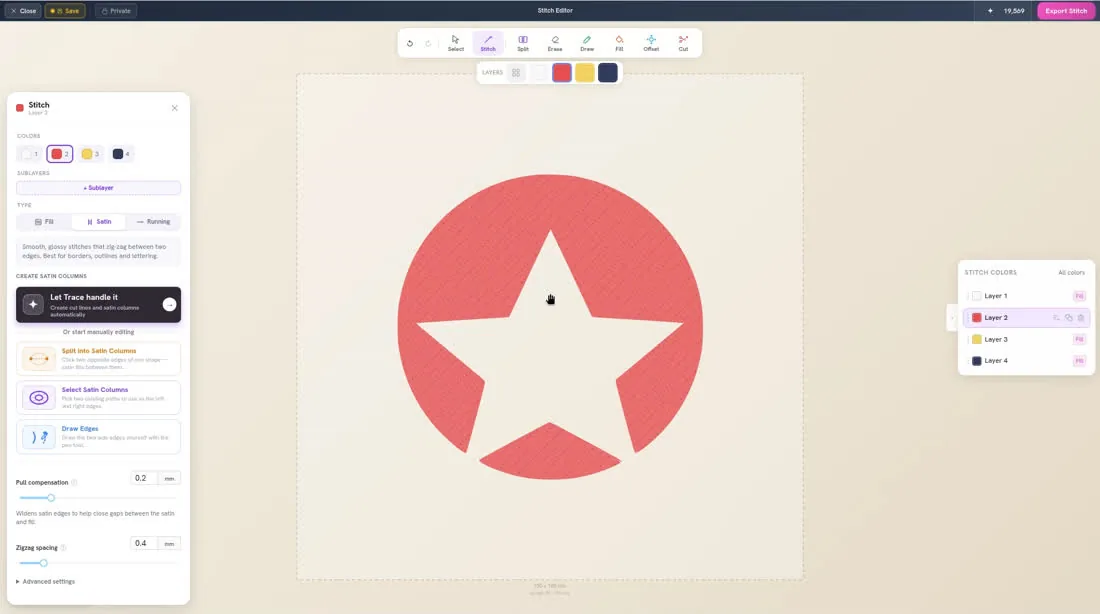
For a quick start, click Let Trace handle it. The button also reads Create cut lines and satin columns automatically. This uses credits. You can also work by hand with Split into Satin Columns, Select Satin Columns, or Draw Edges.
To set satin
- 1
Select the colour in Stitch Colors, click Stitch, then click Satin. If the Switch from Fill to Satin? dialog appears, choose Replace this layer or Keep both.
- 2
In the Stitch panel, click Let Trace handle it, or choose Split into Satin Columns, Select Satin Columns, or Draw Edges.
- 3
If you chose Let Trace handle it, wait while you see Trace is working. You can leave the page and come back. Then check the satin columns on the shape.