Chapters
- 1What is EmbroideryTrace?
- 2Create an account
- 3Sign in
- 4Upload your image
- 5Separate colours
- 6Use Trace
- 7Meet the Stitch Editor
- 8Choose a stitch type
- 9Set satin
- 10Edit shapes
- 11Save and reopen your design
- 12Pick your hoop
- 13Preview your design
- 14Export and stitch on your machine
- 15Free Plan and Pro
- 16Credits
- 17If something looks wrong
- 18FAQ
- 19Get help
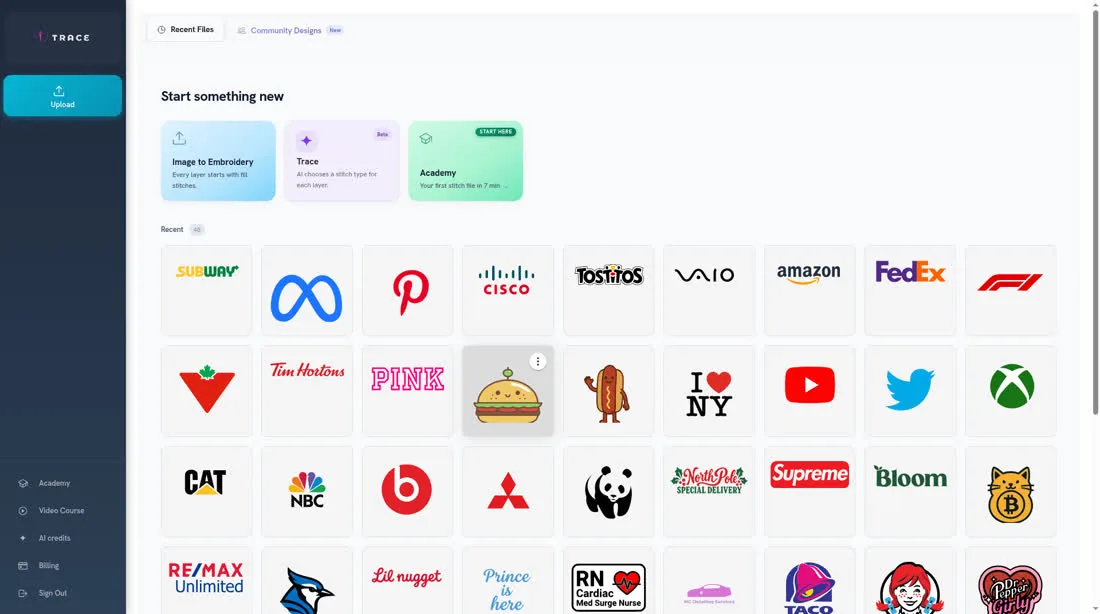
After you sign in, Home is where you start a design. Use Upload in the left sidebar, or drag a picture onto the Upload button.
Upload in the sidebar on a computer, and the Image to Embroidery card on Home, work with JPG, JPEG, PNG, SVG, and WebP. The Trace card works with JPEG, PNG, and WebP only.
To upload your image
- 1
Sign in so you are on Home.
- 2
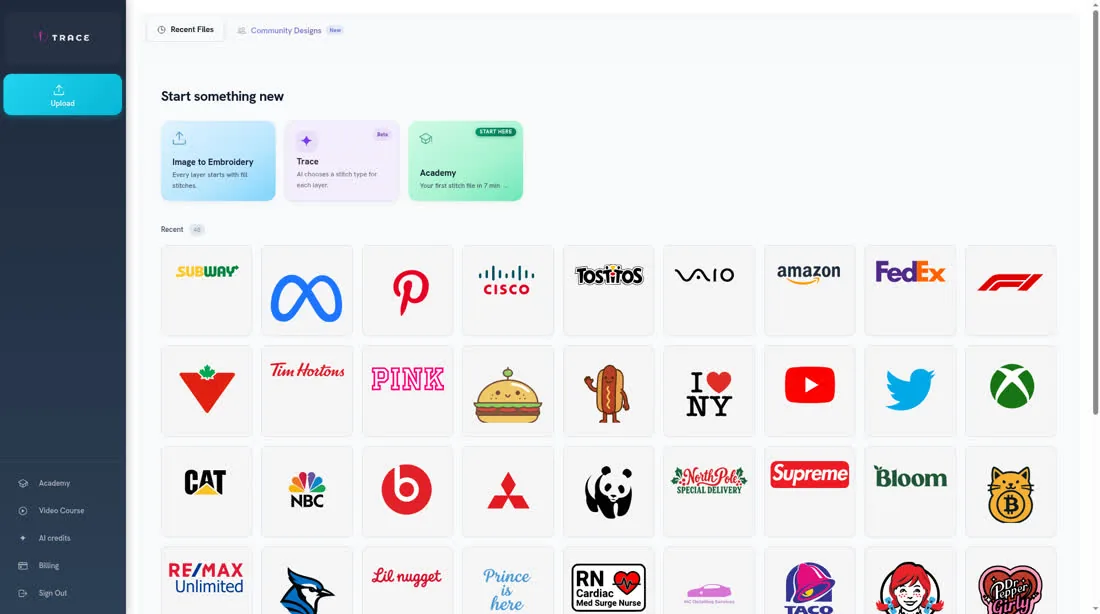
Click Upload in the sidebar, or drag your file onto the Upload button.
- 3
After the upload finishes, click Next: Stitch Editor if you see it. Your picture then opens in the Stitch Editor.
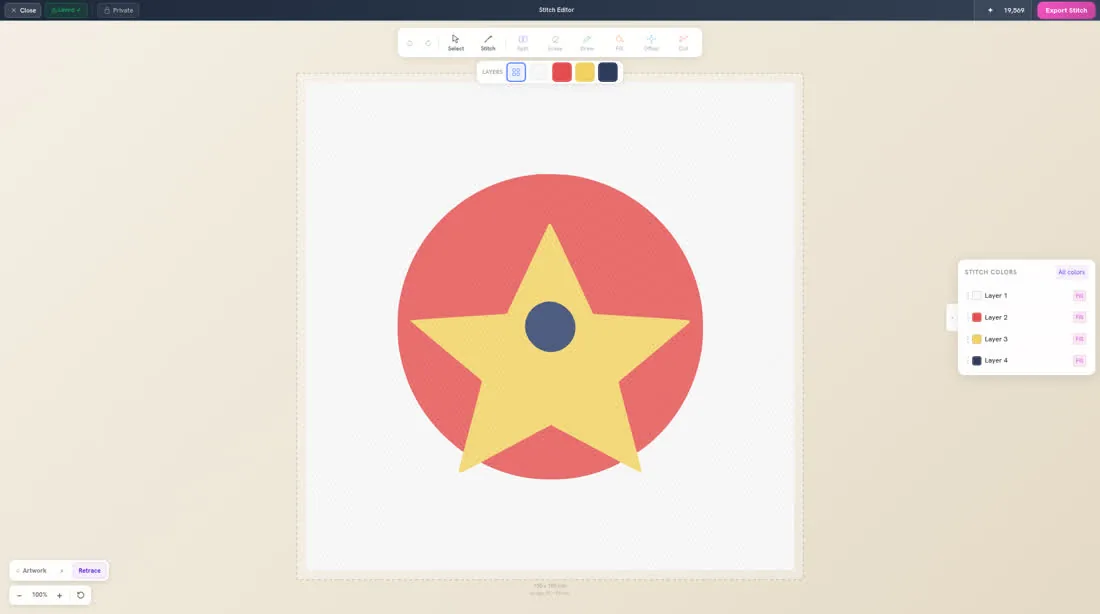
Your picture is split into colour layers automatically. The image analysis that runs when you upload uses credits. If the picture has gradients or is low-resolution, Retrace may start on its own. Your work is saved to your account as you go.
On the screen with Next: Stitch Editor, the AI bar has two optional buttons. Retrace redraws your picture with flat colours and cleaner edges. Modify changes the picture from a short description you type, for example *make background blue*. Both use credits.