Chapters
- 1What is EmbroideryTrace?
- 2Create an account
- 3Sign in
- 4Upload your image
- 5Separate colours
- 6Use Trace
- 7Meet the Stitch Editor
- 8Choose a stitch type
- 9Set satin
- 10Edit shapes
- 11Save and reopen your design
- 12Pick your hoop
- 13Preview your design
- 14Export and stitch on your machine
- 15Free Plan and Pro
- 16Credits
- 17If something looks wrong
- 18FAQ
- 19Get help
Trace is optional. It can choose a stitch type for each colour and help plan satin. Trace is labeled Beta, and it uses credits.
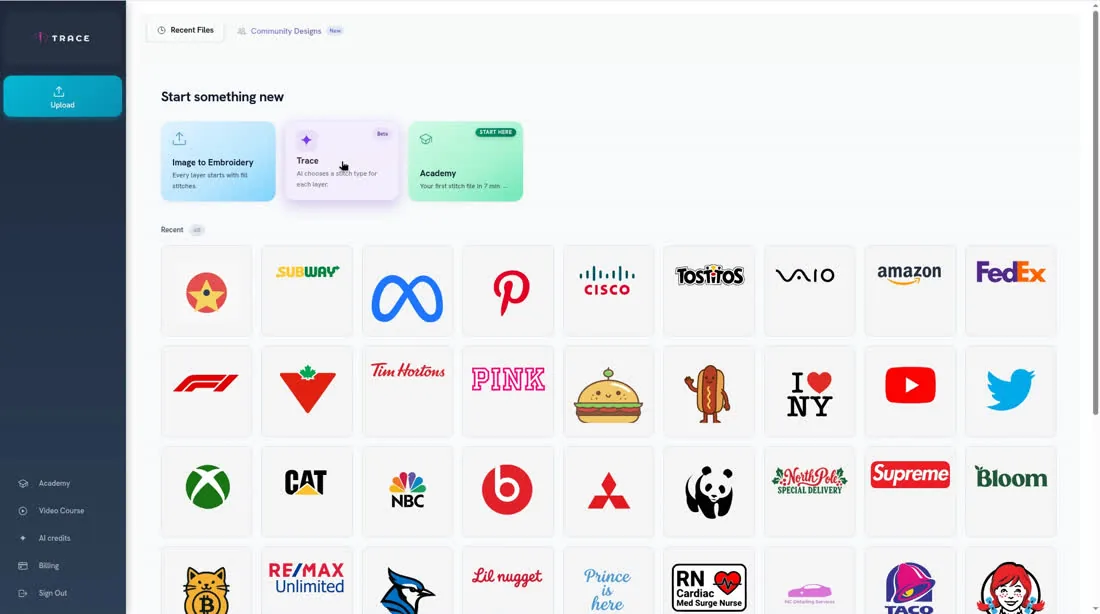
The card reads AI chooses a stitch type for each layer. Trace works with JPEG, PNG, or WebP, and one picture at a time.
To use Trace
- 1
On Home, click the Trace card, then choose one JPEG, PNG, or WebP file.
- 2
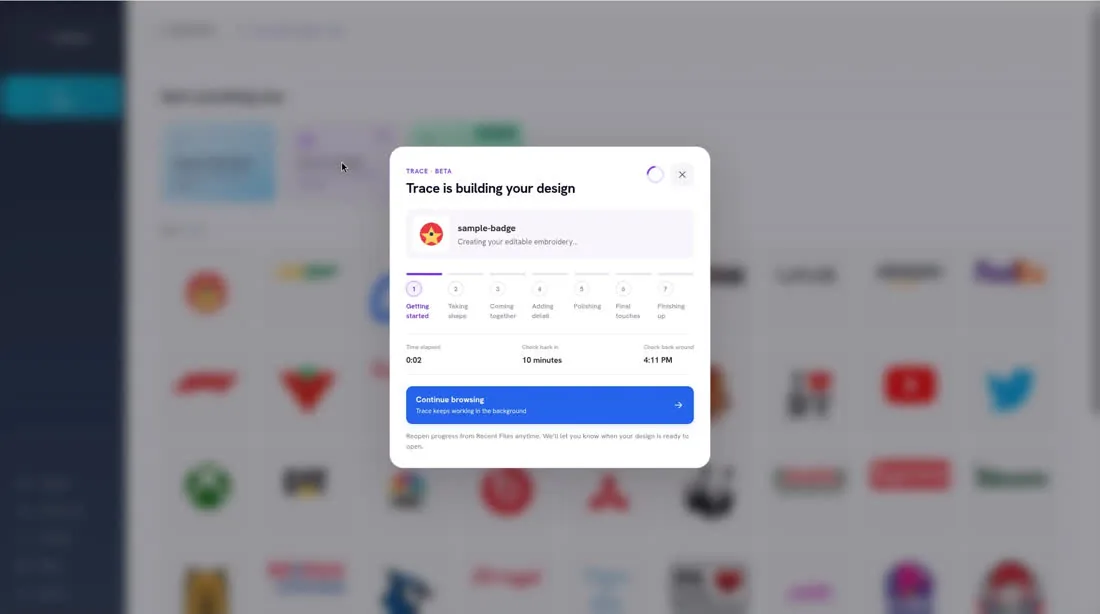
Wait while the window reads Trace is building your design. You can click Continue browsing — Trace keeps working in the background. Trace can take about 10 minutes, and you can reopen its progress from Recent Files anytime.
- 3
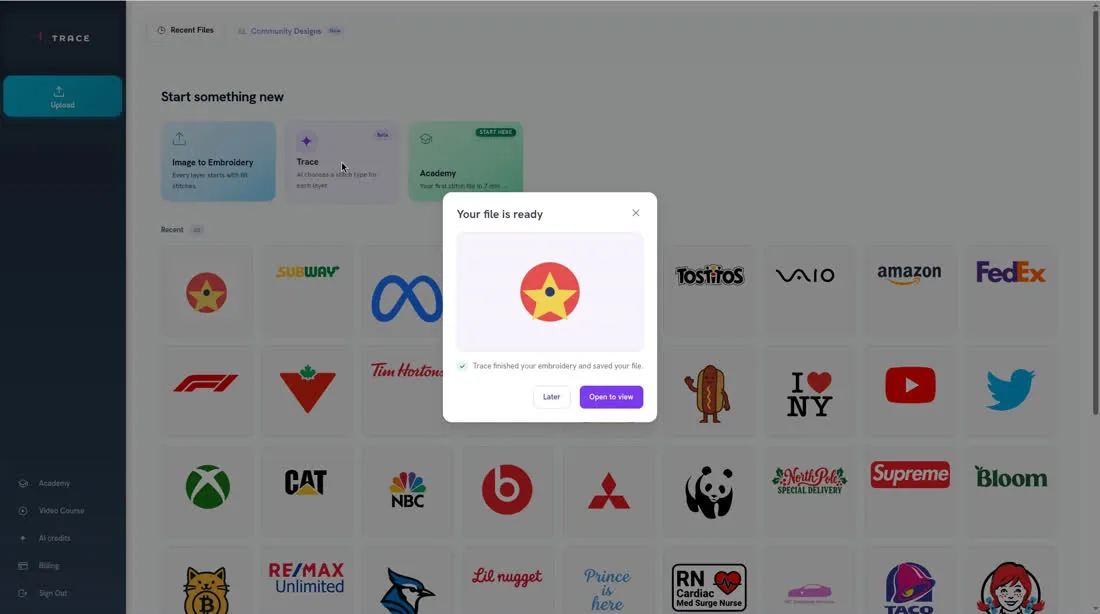
When you see Your file is ready, click Open to view, or click Later if you want to open it another time.
- 4
Review the result in the Stitch Editor. You can still change stitch types and shapes after Trace finishes.